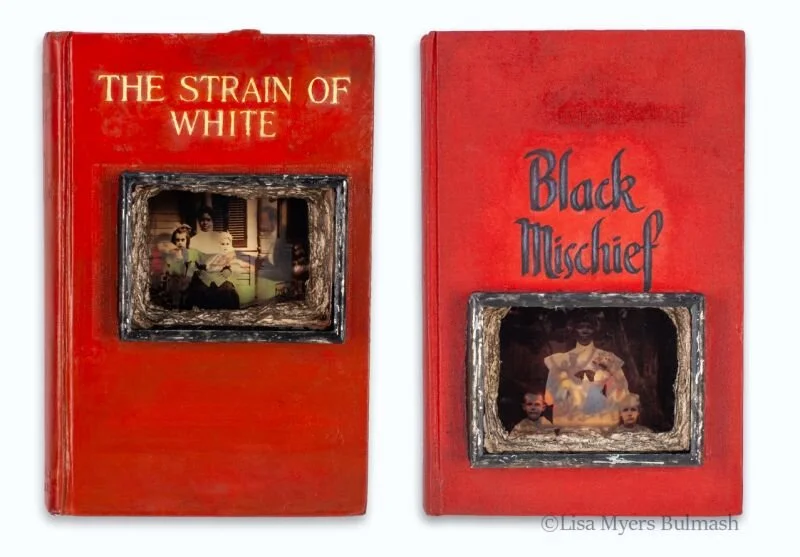
There Is No White Without Black
7.75 x 21.5 x 1.75 inches
Photo credit: Bellevue Fine Art Reproduction
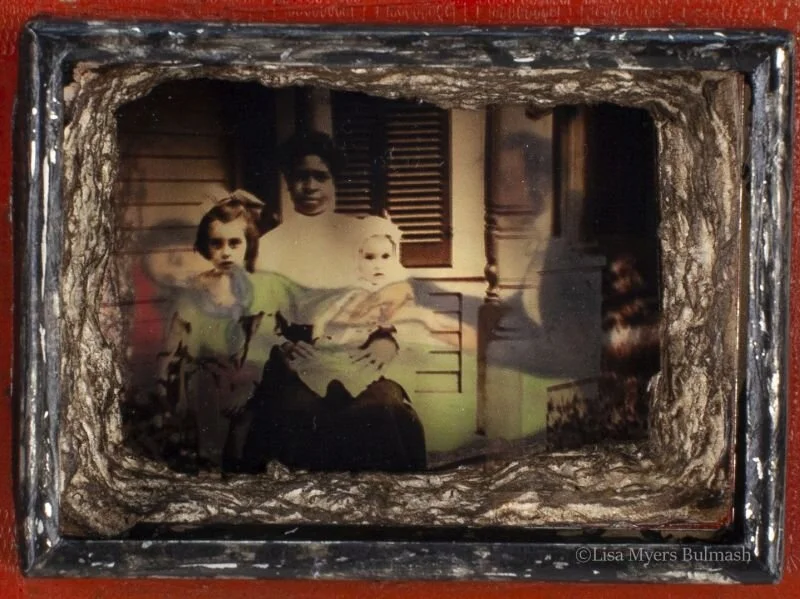
There Is No White Without Black (detail #1)
Photo credit: Bellevue Fine Art Reproduction
There Is No White Without Black (detail #2)
Photo credit: Bellevue Fine Art Reproduction

Bought & Paid For (triptych)
24 x 39 x 2 inches
Photo credit: Clear Image Darkroom Photography

Bought & Paid For 2 (triptych)
24 x 39 x 2 inches
Acquired by Seattle Convention Center (Summit)
Photo credit: Clear Image Darkroom Photography

Bought & Paid 3 (triptych)
24 x 39 x 2 inches
Photo credit: Clear Image Darkroom Photography

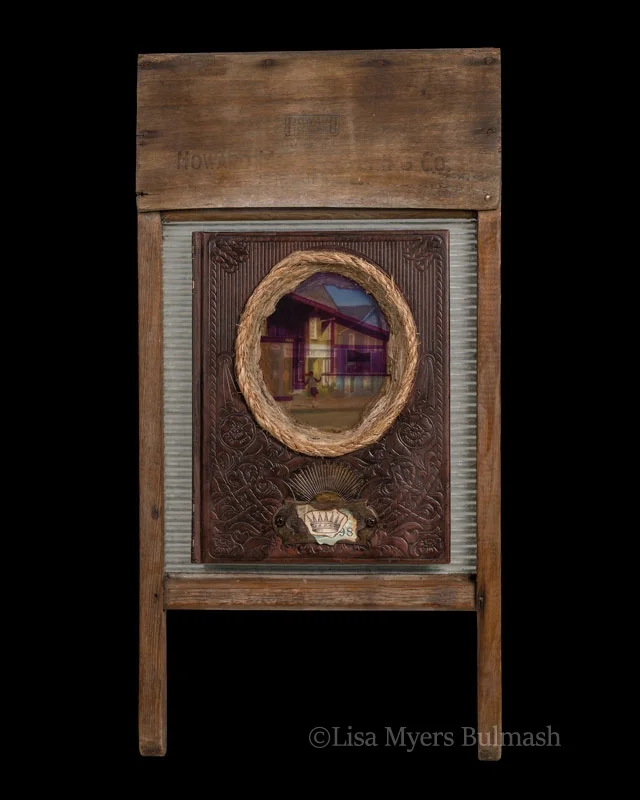
You Got What I Need
23 x 15 x 1.5 inches
Acquired by Collins Memorial Library, University of Puget Sound
Photo credit: Bellevue Fine Art Reproduction

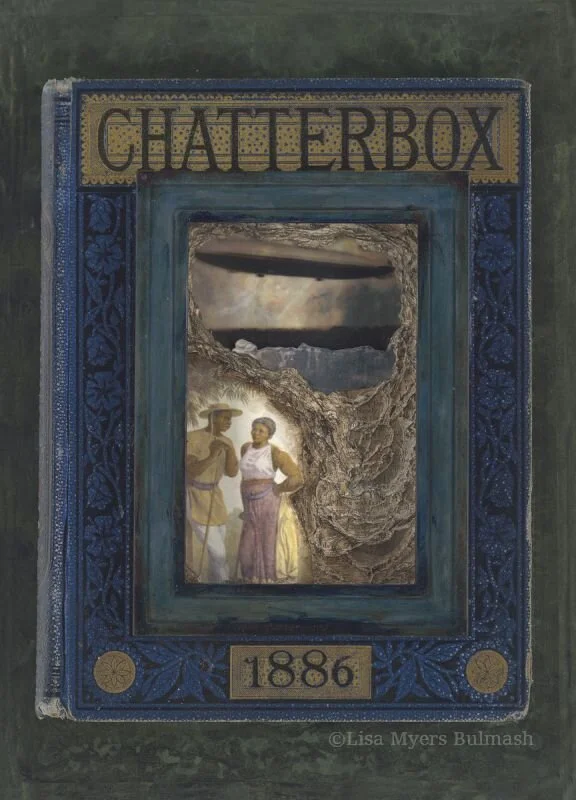
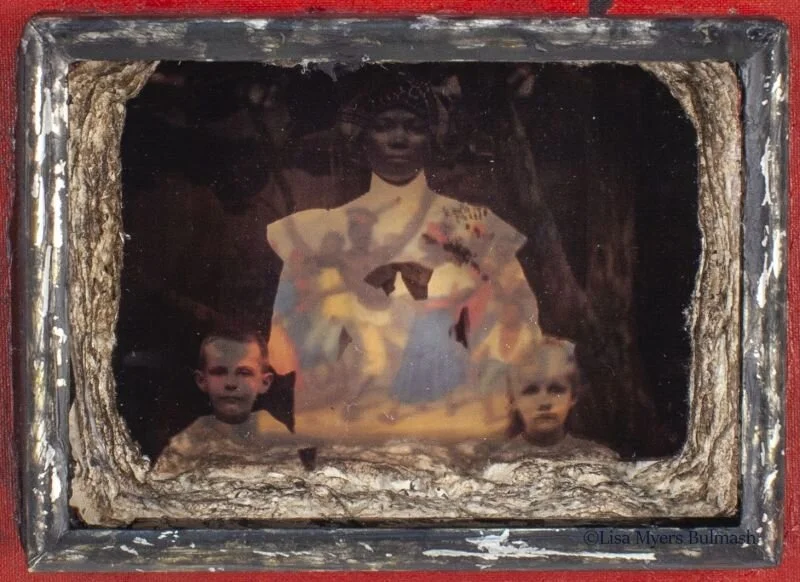
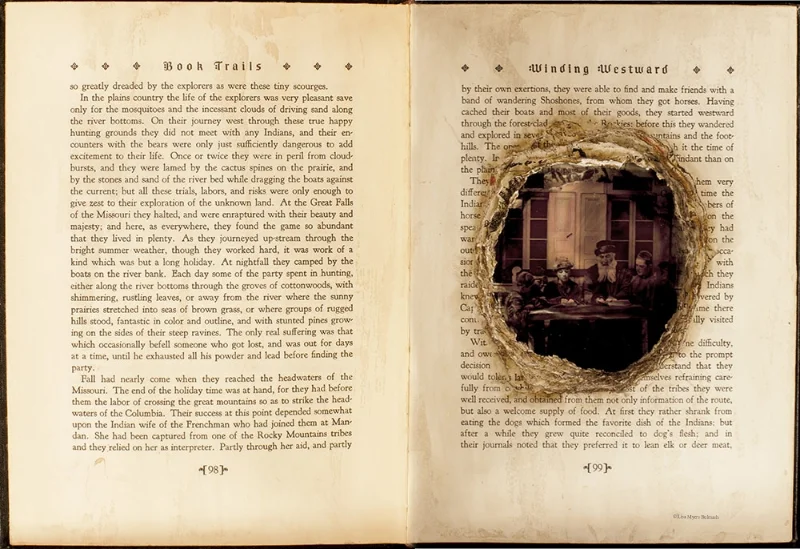
A Terrible Dream
13 x 9.25 x 1.5 inches
In private collection
Photo credit: Bellevue Fine Art Reproduction
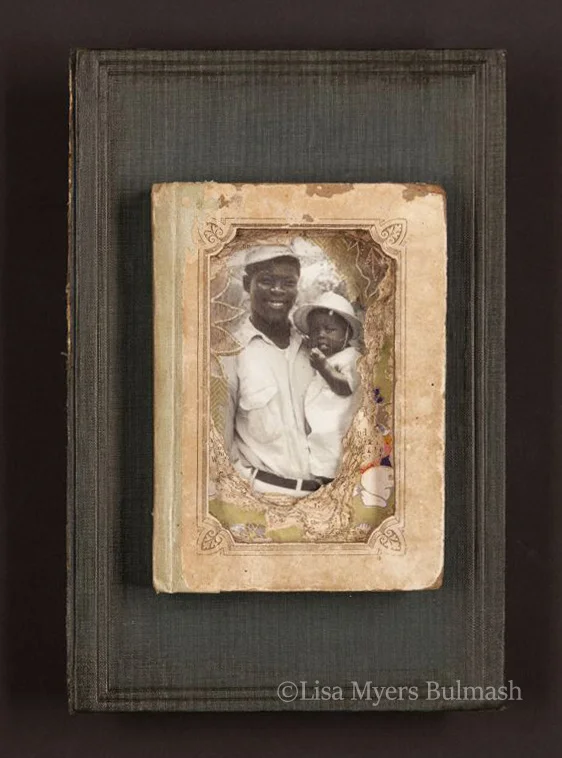
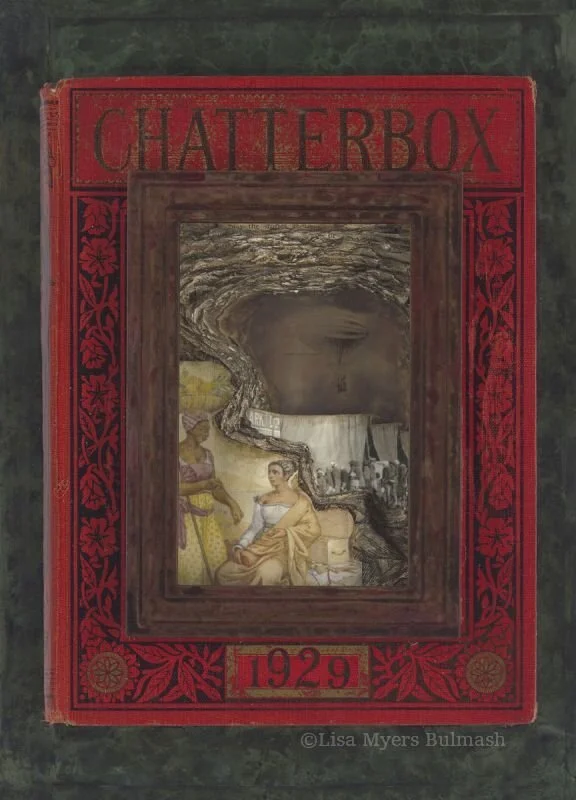
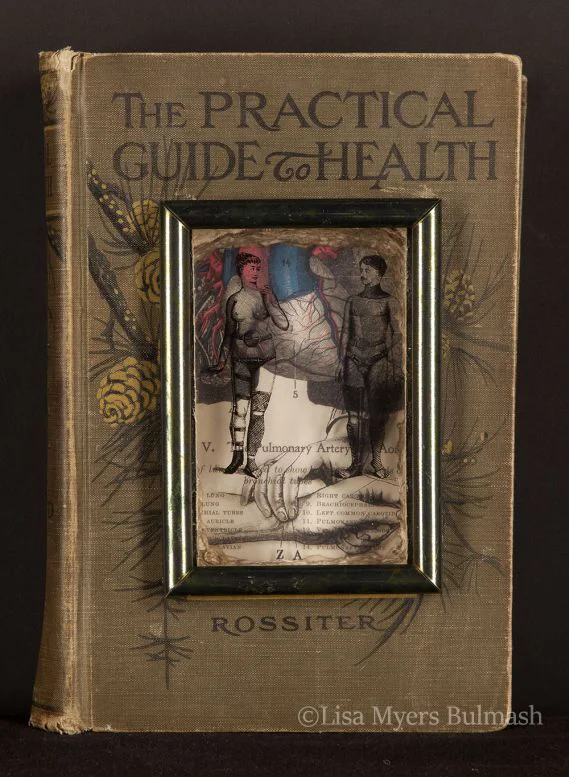
Daddy Loves Me
9.25 x 6.25 x 1 inches
In private collection
Photo credit: Bellevue Fine Art Reproduction


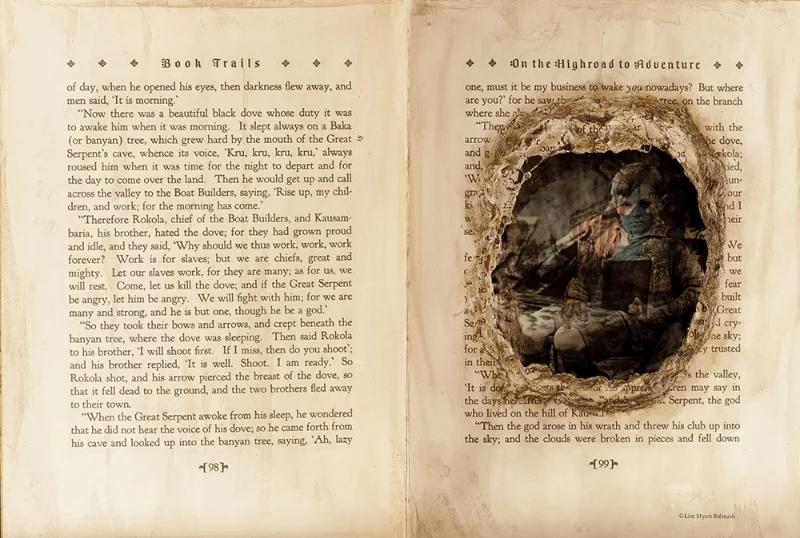


Please, Sir (detail from "A Short History")
Photo credit: Bellevue Fine Art Reproduction

The Past is Always With Us: detail from "A Short History"
Photo credit: Bellevue Fine Art Reproduction
It's Complicated
9 x 6 x 2.5 inches (closed)
In private collection
Photo credit: Bellevue Fine Art Reproduction

It's Complicated (detail)
(9 x 6 x 2.5 inches (closed)
In private collection
Photo credit: Bellevue Fine Art Reproduction